Table of Contents
Did you know the global outdoor furniture market is set to hit $23.2 billion by 2026? More homeowners are focusing on outdoor living areas. This means a big rise in demand for DIY outdoor tables that are both customizable and affordable. This guide will show you how to make your own outdoor table, perfect for your patio, deck, or garden.
In this easy-to-follow tutorial, you’ll learn the perks of making your own outdoor table. You’ll see various designs and pick the best materials for your project. By the end, you’ll be ready to craft a unique outdoor table that matches your space and style.
Introduction to DIY Outdoor Tables
Building your own outdoor table is a fun and personal project. You can make a table that matches your outdoor space perfectly. Whether you like classic picnic tables or modern designs, there are many options.
Benefits of Building Your Own Table
Building your own table has many advantages. You can choose the size, shape, and style you want. Plus, you can pick the materials and build it to last.
Types of Outdoor Tables
There are many styles of outdoor tables you can make:
- Picnic-style tables: These have a big surface and benches, great for dining outside.
- Bistro-inspired tables: Smaller and cozy, perfect for small gatherings.
- Modern designs: These have clean lines and a sleek look.
- Rustic tables: Made from natural materials, they add warmth to your space.
No matter your style, you can find a DIY table that makes your outdoor area special.

Materials Needed for a DIY Outdoor Table
Making your own outdoor table needs careful planning and the right stuff. You’ll want materials that make your table strong and weather-proof. Here’s what you’ll need for a sturdy, long-lasting table.
- Durable wood planks, like cedar, teak, or pressure-treated pine, for outdoor use
- Hardware like screws, bolts, and washers for the table frame
- Wood glue to make the joints strong
- Sandpaper to make the surface smooth
- Outdoor-grade sealant or stain to protect the wood from the weather
- Power tools like a saw, drill, and sander for cutting and shaping
Choosing the right diy outdoor table materials and outdoor table building supplies is key. You’ll be on your way to a sturdy and beautiful table. It will be the highlight of your patio or backyard.
DIY Outdoor Table: Step-by-Step Instructions
Making your own outdoor table is a fun project. It can turn your patio or backyard into a cozy spot. Follow our guide to cut, shape, and assemble the wood. You’ll end up with a sturdy, level table and a smooth tabletop.
Cutting and Preparing the Wood
First, measure the size you want for your outdoor table construction guide. Mark and cut the wood carefully. Sand the edges and surfaces to get a smooth finish.
- Measure and mark the wood pieces according to your desired table size.
- Use a saw to cut the wood, ensuring accurate dimensions.
- Sand the edges and surfaces to create a smooth, polished appearance.
Assembling the Table Frame
Now, let’s build the table frame. Follow these steps for a sturdy base:
- Arrange the legs of the table in the desired configuration.
- Attach the top and bottom stretchers to the legs, securing them in place with screws or nails.
- Ensure the frame is level and square before moving on to the tabletop.
| Material | Quantity | Purpose |
|---|---|---|
| Pressure-treated lumber | 4 pieces | Table legs |
| Pressure-treated lumber | 2 pieces | Top stretchers |
| Pressure-treated lumber | 2 pieces | Bottom stretchers |
| Outdoor-grade wood | 1 piece | Tabletop |
| Screws or nails | As needed | Securing the frame |

Finishing Touches and Customization Ideas
Building your DIY outdoor table is just the start. Now, it’s time to add the finishing touches and make it your own. You can stain and seal it, or add creative design elements. These steps will help you make your outdoor table design ideas shine and create the perfect patio table decor.
Staining and Sealing Your Table
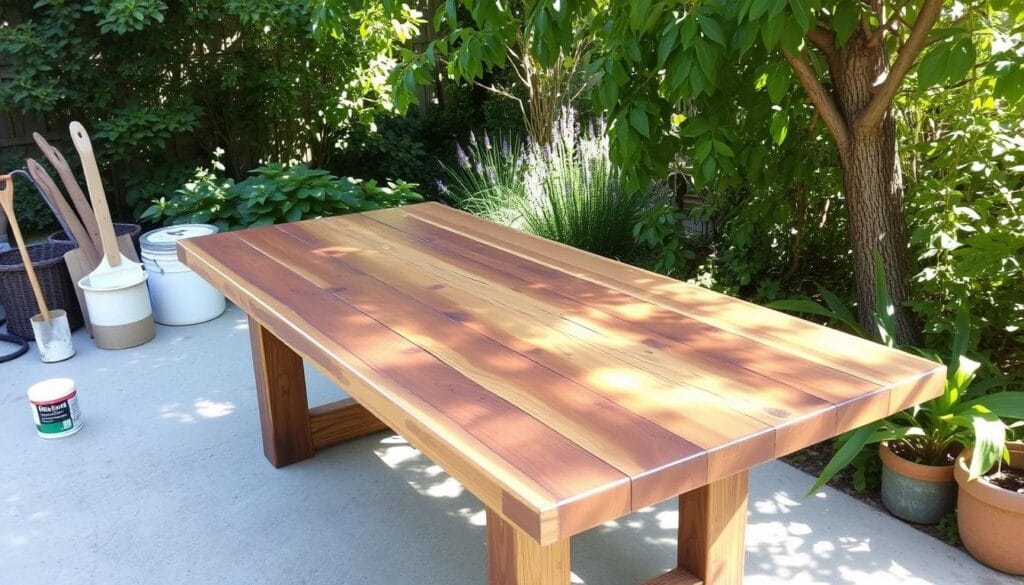
Staining and sealing your customizing a diy outdoor table is crucial. It not only looks better but also protects the wood from the weather. Pick a stain that matches your outdoor colors and apply it evenly for a smooth finish.
After the stain dries, add a clear sealant. This layer protects against moisture, UV rays, and wear. Reapply the sealant every few years to keep your table looking great.
There are many ways to make your DIY outdoor table stand out. You can add decorative hardware or intricate details to the legs or apron. A glass or tile inlay on the tabletop adds a unique touch.
- Try different stain colors to match your outdoor space
- Use a high-quality sealant to protect the wood
- Add unique design elements like custom hardware or inlays
By focusing on the finishing touches and customization, you can turn your DIY outdoor table into a stunning centerpiece. It will reflect your style and enhance your patio or backyard’s look.
Conclusion
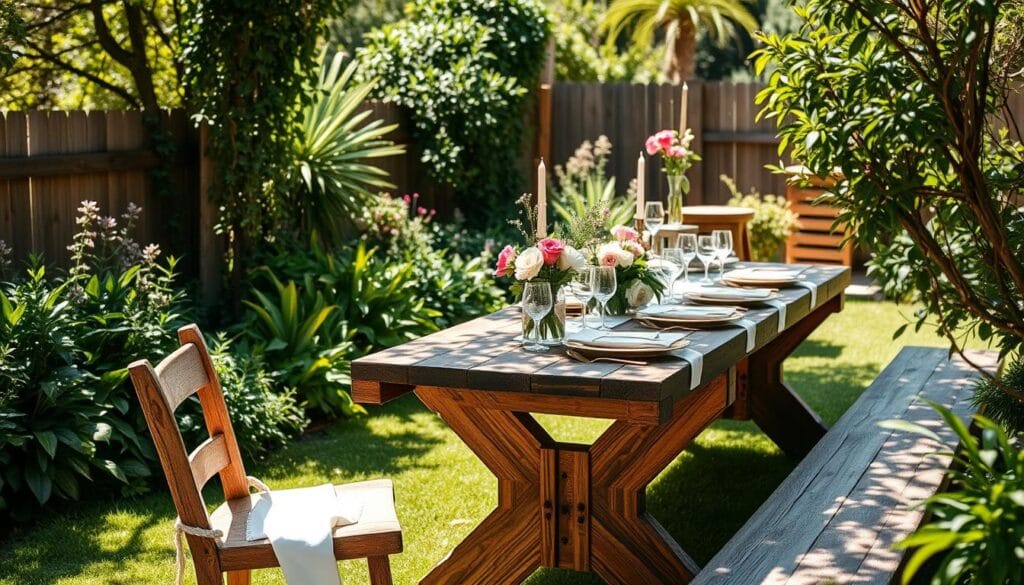
Your DIY outdoor table project is now complete! You’ve made a beautiful piece of furniture for your patio or garden. It will be the highlight of your outdoor space, whether you’re having a party or just relaxing.
Building this DIY outdoor table saved you money and taught you about craftsmanship. Your table shows off your style and adds charm to your patio decor or garden projects.
Now, take pride in your unique outdoor furniture. You worked hard to make it, and it looks great. Enjoy the feeling of having a beautiful, functional piece in your outdoor space.
FAQ
What are the benefits of building a DIY outdoor table?
Making your own outdoor table lets you choose the size, shape, and style. It fits your outdoor space perfectly. You pick the materials and finishes that match your taste and budget. This way, you get a unique and useful piece for your patio or garden.
What types of outdoor tables can I create with a DIY project?
You can make many types of outdoor tables, from classic picnic styles to modern designs. You can build a big, rectangular table for dining or a small side table. You can even make a custom-shaped table to be the highlight of your outdoor area.
What materials do I need to build a DIY outdoor table?
You’ll need the right wood, like cedar, redwood, or pressure-treated pine. Also, you’ll need hardware like screws and bolts. Don’t forget tools like a saw, drill, sandpaper, and a sealant or stain to protect the wood.
How do I cut and prepare the wood for my DIY outdoor table?
Start by measuring and marking the wood for the table top, legs, and supports. Use a saw to cut the wood to size. Sand the edges and surfaces for a smooth finish. Pre-drill holes to prevent the wood from splitting.
How do I assemble the frame for my DIY outdoor table?
Begin by laying out the leg pieces and attaching them to the tabletop. Use screws or bolts to secure the legs, making sure they’re level. Add supports like cross-beams or stretchers for stability. Check the alignment and tighten all hardware before finishing.
What can I do to customize and finish my DIY outdoor table?
After building the basic frame, you can customize and finish your table. You can stain or seal the wood to protect it. Add decorative touches like carved edges or metal accents. Personalize it with your design or paint it in your favorite colors.

